Seedling Guards
BackWhen seedlings are first planted out they are incredibly vulnerable to being attacked. The combination of transplant shock and juicy tender growth makes them irresistible to a host of pests like snails, slugs, earwigs, cutworms and other caterpillars. The good news is these simple seedling guards can be made in a flash!
How to Make Seedling Guards
Materials Needed
- empty plastic bottles (clear are best as they allow maximum light to reach the seedling)
- old fly screen mesh or fine gauze (needs to be soft and pliable)
- elastic bands
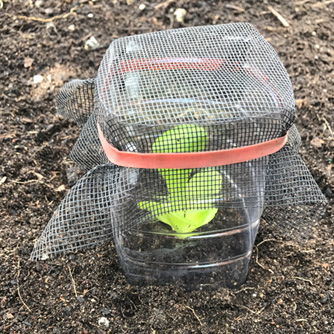
Seedling guards are quick and easy to make
Getting Started
1. Rinse out the plastic bottle and remove the label.
2. Cut off the top and bottom of the bottle.
3. Cut out a piece of mesh which is at least 3cm wider than the diameter of the bottle.
4. Fold the mesh over one end of the bottle and use an elastic band to hold it in place. Make sure the mesh is properly tucked under the band on all sides so there are no gaps.
5. Push the guard over newly planted seedling and it’s instantly protected! Water in with OCP eco-seaweed to reduce transplant shock and encourage root development.
6. In a week or two you can remove the guard as the seedling has hardened up and pests will be less interested. It will have also grown more leaves and can handle a few bites here or there. Alternatively only remove the mesh from the top and leave the plastic bottle around the base of the seedling to still provide partial protection.
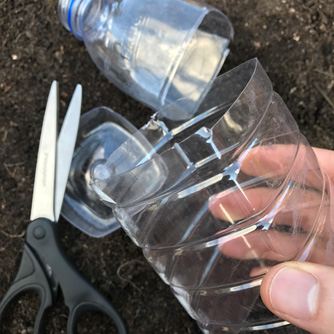
Cut the top and bottom off the bottle
Note: If you have lots of seedlings to protect and it's not practical to make guards for each one then use the following products:
- Snails and slugs - apply a scattering of OCP eco-shield organic pellets
- Caterpillars - spray seedlings with OCP eco-neem (non-edible plants only)
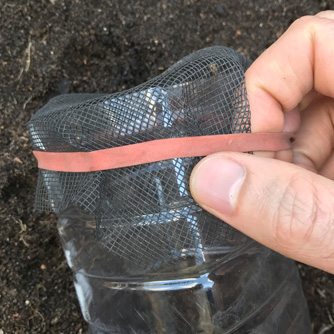
Use an elastic band to hold the mesh in place